
When your washing machine suddenly stops mid-cycle or leaves your laundry dripping water, it is easy to panic. Often, the main culprit behind standing water or incomplete cycles isn’t a broken motor or a failed control board, but a simple blockage in the drainage system. Specifically, a clogged washing machine drain hose can bring your laundry routine to a complete standstill, risking water damage and frustrating delays.
At Fixfast LLC, our expert technicians encounter this issue regularly across households. Fortunately, with the right tools, safety precautions, and a step-by-step approach, you can clear a blocked drain hose like a seasoned professional. Read on to master the complete troubleshooting and cleaning process.
Understanding Why Washing Machine Drain Hoses Clog
Before diving into the repair process, it helps to understand what causes these blockages. Over time, your washing machine accumulates lint, fabric softener residue, loose coins, hair pins, pet hair, and calcified detergent buildup. As wastewater pumps out of the drum during the spin cycle, these particles adhere to the interior walls of the corrugated drain hose. Eventually, they form a dense blockage that restricts or completely stops water flow.
Common warning signs of a clogged drain hose include:
- Standing water left in the bottom of the washing machine drum after a cycle.
- Error codes on digital displays indicating drainage failure (common in modern LG, Bosch, and Samsung washers).
- Gurgling sounds coming from your standpipe or sink drain while the washer operates.
- Water backing up into utility sinks or floor drains during the spin cycle.
Essential Tools You Will Need
Before starting any hands-on work, gather these basic tools to ensure a smooth, mess-free repair:
- A pair of slip-joint pliers or a screwdriver (depending on your hose clamp type).
- A shallow bucket or large basin to catch residual wastewater.
- Old towels and cleaning rags.
- A garden hose or flexible plumbing snake (for severe clogs).
- Rubber cleaning gloves and safety glasses.
Step-by-Step Guide to Clearing the Drain Hose
Step 1: Disconnect Power and Water Supply
Safety always comes first when working with home appliances. Unplug your washing machine from the electrical wall outlet. If your machine is positioned in a tight laundry cabinet or utility room, pull it forward carefully to access the rear panel where the drain hose connects.
Step 2: Prepare for Residual Water Spillages
Drain hoses always contain trapped water. Lay down old towels on the floor directly beneath the connection points. Place your shallow bucket right below where the hose attaches to the household drain pipe or standpipe to catch any unexpected spills.
Step 3: Detach the Drain Hose
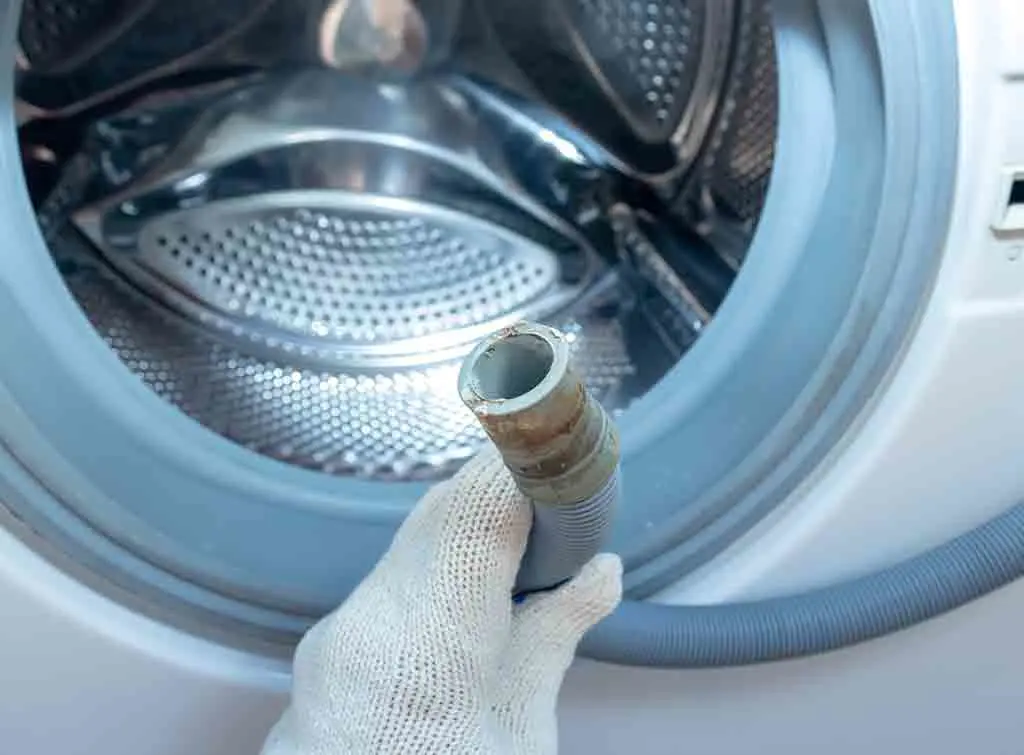
Locate where the corrugated rubber drain hose leaves the back of the washing machine and where it connects to the standpipe. Using pliers, loosen the metal retaining clamp securing the hose to the washer’s drain pump outlet. Gently twist and pull the hose away from the machine nipple. Allow any remaining water to drain directly into your bucket.
Step 4: Inspect and Clear the Obstruction
Examine both ends of the hose for trapped debris, coins, or lint mats. If the blockage is located near either opening, you can easily pull it out using needle-nose pliers. For clogs deep within the corrugated channels, take the hose outdoors or to a bathtub and flush it out using high-pressure water from a garden hose.
For stubborn or calcified grease clogs, carefully insert a flexible plumbing snake through the hose. Rotate it gently to break apart the obstruction without puncturing the flexible rubber walls.
Step 5: Check the Internal Pump Filter
While the drain hose is disconnected, take the opportunity to inspect the washing machine’s drain pump filter (usually located behind a small access panel at the bottom front of front-load units). Unscrew the filter slowly, let the trapped water flow into a shallow dish, and clean out any trapped coins, buttons, or lint buildup. A clean pump filter ensures seamless water flow once the hose is reattached.
Step 6: Reconnect and Test Your Washing Machine
Once the hose and filter are pristine and clear, securely push the drain hose back onto the pump outlet and tighten the hose clamp firmly. Reinsert the other end into your standpipe, making sure it is neither pushed down too far (which can cause siphoning) nor left too loose.
Plug the machine back into the wall outlet and run a short rinse-and-spin cycle with an empty drum. Observe the drain pipe and connections closely to confirm there are no leaks and that water evacuates quickly and smoothly.
Professional Tip from Fixfast LLC: To prevent future clogs, run a maintenance wash every month using hot water and a specialized washer cleaner or white vinegar. This dissolves detergent residue and mineral deposits before they can harden inside your drainage system.
When to Call Professional Appliance Repair Services
While clearing an external drain hose is a manageable DIY task, stubborn blockages deep within internal plumbing, failing drain pumps, or electronic drainage errors require professional expertise. If you have cleaned your hose and filter but your machine still refuses to drain, professional intervention is necessary.
Residents across Dubai can rely on Fixfast LLC for fast, reliable, and professional washing machine repair and maintenance services. Our licensed fridge repair technician use advanced diagnostic tools to resolve all appliance issues efficiently.